Getting Started with Grafana Plugin
After completing the standard plugin deployment process (as explained here), the Grafana plugin requires a few additional steps to work seamlessly with thinger.io devices' data. In the following sections, we'll guide you through the login process and how to configure the plugin effectively. First Login
First Login
Info
Perform initial login using your thinger.io account username and password 'admin'
Upon installing the plugin, perform the initial login using your thinger.io account username and the password admin. After the first login, the system will prompt you to change the password to a custom one. Once done, you'll gain access to the Grafana workspace, offering a variety of options.
Adding a Datasource
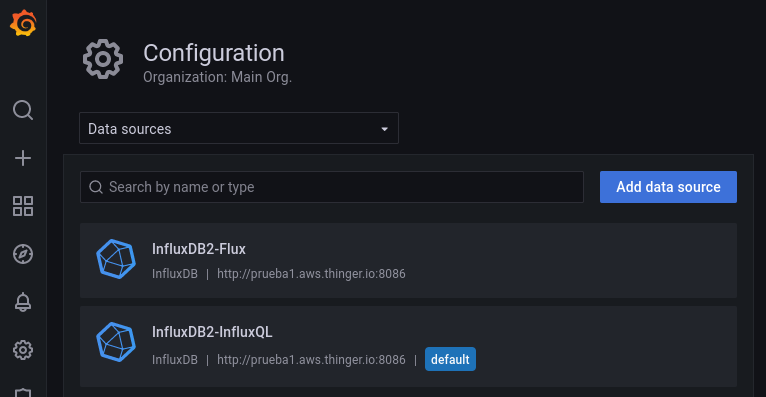
The connection between Thinger.io data and the Grafana plugin is established by adding the buckets database as a new data source for Grafana. By default, the configuration for the database is set up with names InfluxDB2-Flux and InfluxDB2-InfluxQL, requiring no further action.
Note
For better performance, it is recommended to use the InfluxQL backend unless you require specific features available only with Flux.
However, if needed, you can configure additional data sources. For more information, check this link.